Inspecting industrial gearboxes with game-changing speed & accuracy using Artec Leo
Challenge: Finding a new, faster means of analyzing industrial transmission components that improves inspection throughput, without sacrificing accuracy.
Solution: Artec Leo, Artec Studio, Geomagic for SOLIDWORKS
Result: An overhauled workflow that allows for rapid industrial gearbox analysis, so potential issues can be identified, diagnosed, and fixed – during initial design and after production.
Why Artec 3D?: Ultra-intuitive and completely cable-free, Leo is incredibly easy to integrate into existing workflows. Artec Studio also streamlines scan capture and processing, allowing data to be sent seamlessly to third-party software for reverse engineering & inspection.
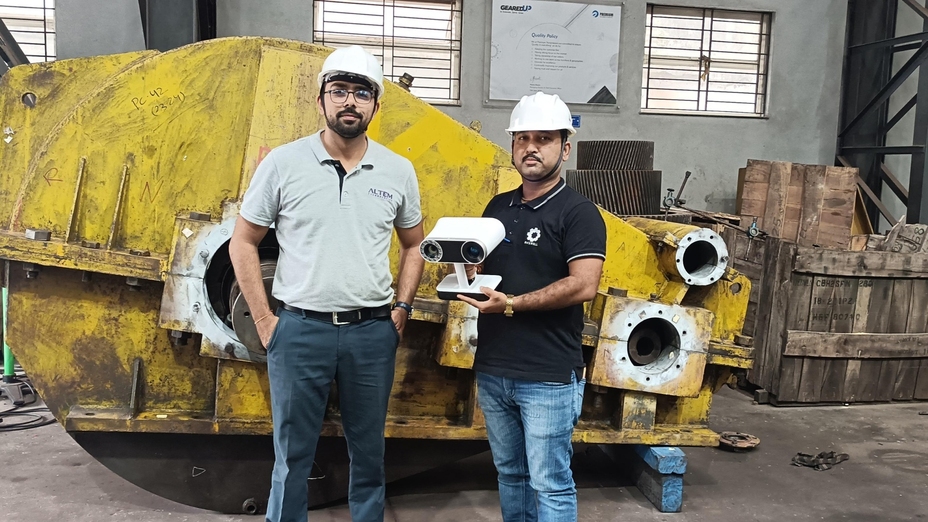
Rockwell engineers with their Artec Leo 3D scanner. Image courtesy of Rockwell
Regular inspection is absolutely vital with industrial transmission systems. Just like the gearbox in an everyday car, components are prone to wear, misalignment, and fatigue – issues that can lead to machinery failure. This isn’t just a matter of downtime, but operator safety too.
Traditionally, heavy-duty gearboxes are measured using tapes, calipers & gauges, in a time-tested but slow process that’s overly reliant on user skill. Aiming to accelerate this workflow and all but eliminate measurement errors, industrial service provider Rockwell has adopted Artec Leo, a wireless, AI-powered device that’s already delivering game-changing results.
Rethinking inspection at Rockwell
Since its inception in 2001, Rockwell has grown from a distributor of industrial products into a fully-fledged service provider. Best known for its transmission offering, the company has worked with leading brands like METSO, KSB, RATHI, SKF Gearboxes, and Premium Transmission – and it boasts of having a portfolio of gears and couplings that meets every application need.
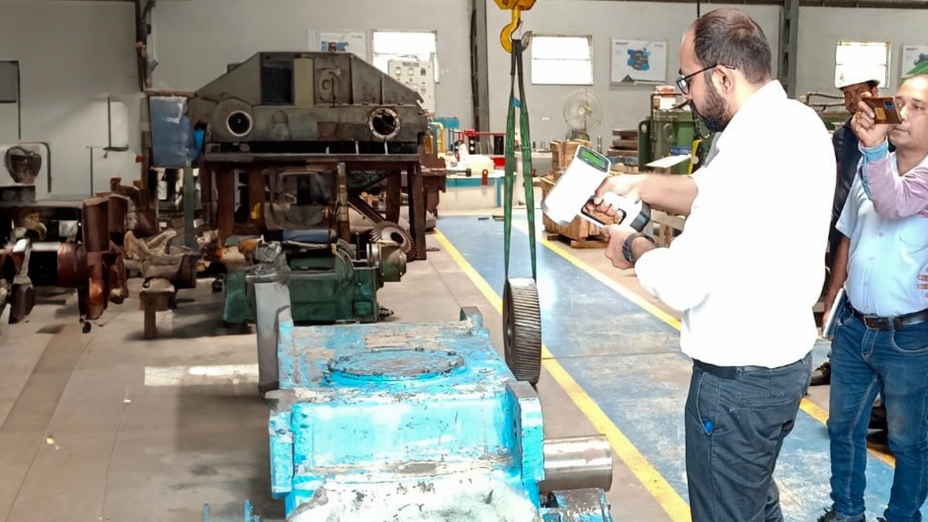
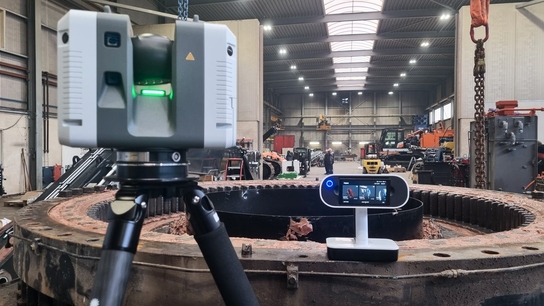
Artec Leo’s built-in display delivers real-time feedback for engineers. Image courtesy of Rockwell
Rockwell’s state-of-the-art manufacturing facilities are also kitted out with all the equipment required for in-house design, forging, metalworking, finishing, and testing. But until recently, the firm carried out measurement tasks with traditional tools. This changed when they discovered Leo online and contacted Gold-certified Artec 3D partner Altem Technologies for a demo.
Blown away by the combined speed, simplicity, and accuracy of the device, Rockwell has since acquired and integrated the technology into its inspection workflow. Leo has proven particularly useful in the measurement of critical components, extremely large parts with shiny surfaces, deep pockets that can be difficult to reach, and those with fine operational tolerances.
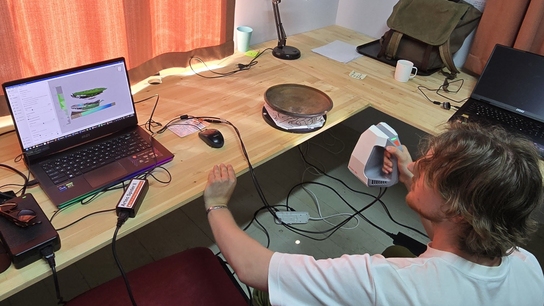
Leo’s point-and-shoot functionality allows new users to achieve high-quality results in minutes, while its built-in screen, battery, and processor make it easy to deploy off-site. Using their new professional 3D scanner, the Rockwell team have found it much easier to capture complex geometries at pace, picking up usable data with up to 100-micron accuracy.
Identifying mesh-sketch deviations
Rockwell’s reverse engineering process starts inside Artec Studio. The industry-leading 3D data capture and processing software comes with all the essentials for reverse engineering and inspection. In this case, the company uses the platform’s built-in tools to fuse data into a 3D mesh, tidy it up, and export seamlessly to popular engineering program SOLIDWORKS.
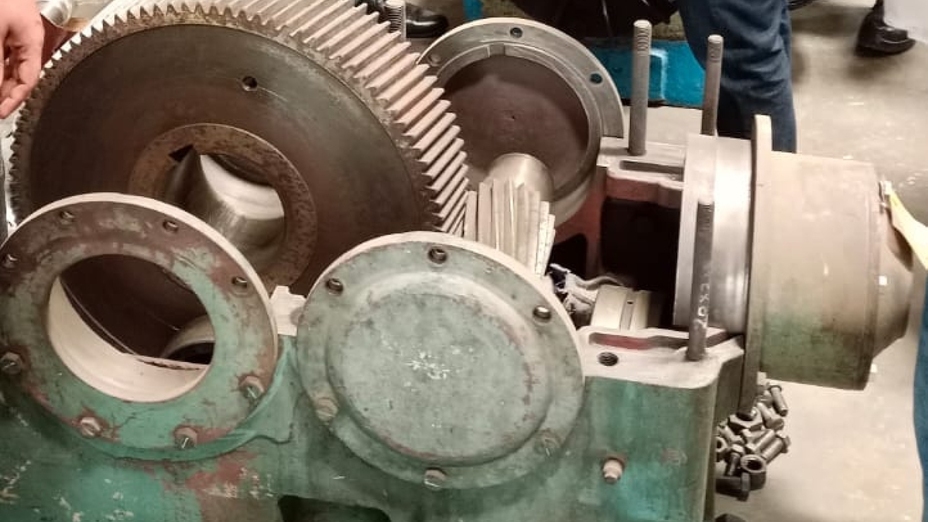
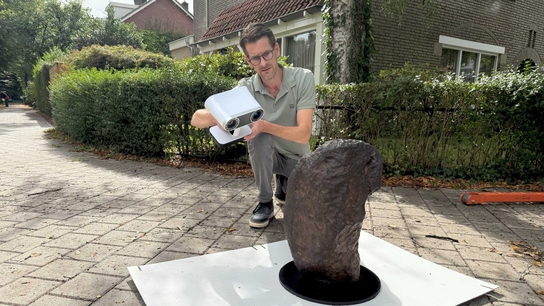
3D scanning with Artec Leo ensures submillimeter-accurate results when inspecting complex parts like this one. Image courtesy of Rockwell
Utilizing the Geomagic for SOLIDWORKS plug-in, Rockwell engineers are able to go from scan to solid, feature-based CAD model – ideal for in-depth inspection. Plugging more advanced Geomagic tools into their existing SOLIDWORKS setup allows for deviation analysis between scans and sketches, in a way that takes into account design intent, history, and constraints.
Creating sketch profiles also helps Rockwell analyze cross-sections on cylindrical gearboxes and identify design irregularities that cause malfunctions. Compared to measurements captured with manual tools, Leo’s have turned out to be much more accurate – and the ultra-flexible, high-speed device also captures faster, completing more jobs in the same timeframe.
Fresh opportunities in powertrain MRO
Artec 3D scanning is changing the game across the manufacturing, repair, and overhaul (MRO) space, with Leo proving a reliable digitization tool for industrial engineers everywhere. Take the team at Ausco Products who use the device to inspect industrial brake castings, or Dodman Ltd, who pair it with Artec Ray II to capture entire factory floors for planning applications.
Moving forward, Rockwell sees further potential for the technology in other areas of its business where dimensional precision is key. The company continues to offer aftermarket services in refurbishment, maintenance, and technical consultancy. As its team masters 3D data capture, it’s only a matter of time before they identify potential lead time gains elsewhere.
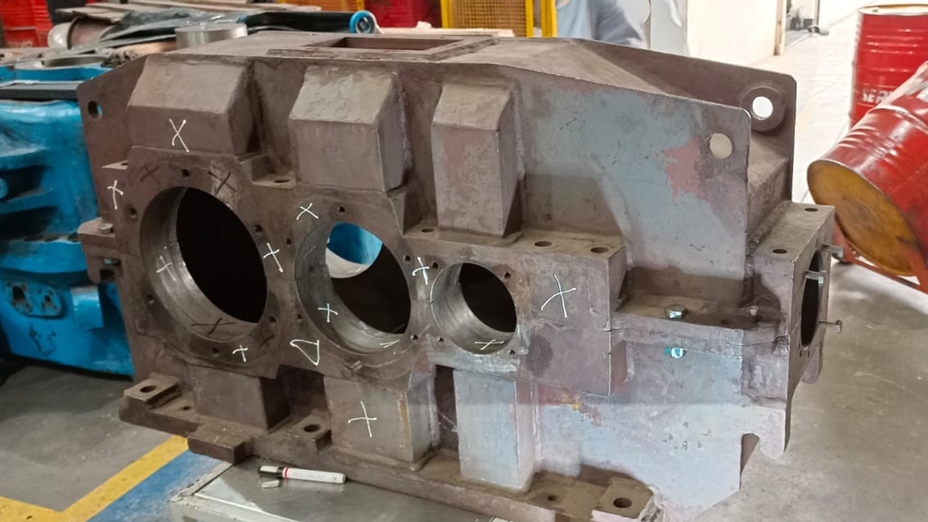
One of the large-format parts Rockwell has inspected with Leo. Image courtesy of Rockwell
Rockwell already has a well-earned reputation for delivering fast, efficient services that ensure machine safety and help avoid unexpected failures. With Leo in its toolbox, its business is surely going to grow even further, showing that Artec 3D scanning isn’t just about delivering higher-quality results – it can have a lasting positive impact across the board.
Scanners behind the story
Try out the world's leading handheld 3D scanners.

