What is the Artec Metrology Kit?
A 3D optical coordinate measuring system for high-precision industrial applications – think deformation analysis, testing, inspection. The Metrology Kit is flexible enough to integrate into your workflow, delivers perfect results both in your workshop and outdoors, and is compatible with major software like Control X and PolyWorks.
The Metrology Kit can operate as a standalone optical measurement solution, or as a referencing tool for even higher 3D scanning accuracy over distance. Using the Metrology Kit plugin, you get the entire 3D scanning + photogrammetry workflow right inside Artec Studio.
DAkkS-certified 6DoF optical measurement
Complete optical coordinate measuring system with accuracy of up to 2 microns. Camera resolution of up to 30.3 megapixels, a 28-mm wide-angle lens, measurement targets, adapters, and scale bars.
Use it anywhere
The whole Kit fits in a rugged, portable case, and with dynamic referencing, you can capture objects in motion – perfect on sites where it’s impractical to use traditional measuring machines and other 3D measurement tools.
Compatible with different software
The Artec Metrology Kit is compatible with industry-leading software solutions like Geomagic Control X, PolyWorks, and many more.
Inspection
Using a high-accuracy optical coordinate measuring system makes inspection of objects like aircraft components, ships, and wind turbines a reliable, straightforward process.

High precision for full confidence
Get much more precise datasets and confidently perform inspection in use cases where requirements on repeatability are high.
Incorporate photogrammetry data into your own workflow
Use the Metrology Kit’s data in your own workflow to make comparisons with 3D meshes, CAD entities, and to make highly accurate measurements of distances.
Maintain precision in unstable environments
Accurate measurements fulfilling repeatability requirements can be taken during almost any production step – even where the part is in motion. On a hydraulic ramp, for example.
Deformation analysis
Use this optical measurement solution to analyze the deformation characteristics of materials under different environmental conditions and loads – processes where a short measuring time is crucial. The Metrology Kit is great for analyzing the geometrical changes of things like storage tanks, vehicle components, or design prototypes.

Short measuring time
Convenient workflow
Portable and flexible
Referencing for 3D scanning
Combine the dense point cloud of a metrology 3D scanner with the high precision of the Kit’s optical measurements to expand the capabilities of small to medium-sized object scanners. You can have the best of both worlds obtaining high resolution on smaller elements within large objects while having them fully captured with minimal accumulated error and high volumetric accuracy.

Greater accuracy over distance
Simplified workflow
Increase the range of smaller scanners
Industry applications
An ISO-certified German offshore and maritime engineering company often surveys and inspects flanges on offshore sites in the North Sea and Baltic Sea.

Complete measurement covering the flatness and inclination of the flange faces, drill hole diameter, and inner and outer diameter, was carried out within 60 minutes.
The Metrology Kit’s portability makes it easy to transport by helicopter. A short measuring time, easy workflow, and dynamic referencing make it the ideal solution for such high-accuracy applications in unstable conditions.

Automotive industry

R&D

Aerospace
Get the best out of your Metrology Kit
Choose the option that suits your needs
The Artec Metrology Kit comes in two versions. The Entry version is designed for less demanding engineering use cases, while the Professional version provides higher accuracy and is designed to make photogrammetry in more challenging environments easier.
Got a question?
-
What is the Artec Metrology Kit used for?
The Metrology Kit is an optical coordinate measuring system that is mostly used for different types of inspection – roundness inspection, sheet-metal inspection, and fixture inspection. Analysis – deformation analysis, tolerance analysis, 3D process analysis. And also referencing for other measurement systems. It can also be used for part alignment, CAD comparison, and other optical measurement usage applications.
-
What is the general workflow when using the Artec Metrology Kit?
Working with the Artec Metrology Kit begins with object preparation using targets, reference bars, and other accessories required for measurement, and then image acquisition, image transfer, image processing, and 3D-coordinates calculation for the generation of a point cloud.
-
In what industries is the Artec Metrology Kit used?
Because processes like reverse engineering and inspection occur in so many processes, the use of optical systems like the Artec Metrology Kit transcends any one particular industry. The Metrology Kit has found use in general industry, aerospace, automotive, wind energy, railway construction, and many more industries.
-
Which camera settings affect the performance of the Artec Metrology Kit?
The Artec Metrology Kit is shipped with the relevant settings already configured. These include focus, aperture, ISO, flash sensitivity, and exposure time. The measurement system is calibrated with these settings. To ensure that it works as intended, it is recommended that you do not adjust the factory settings as this could affect accuracy. Please refer to the support page for more information.
-
Can the Artec Metrology Kit be used as a substitute for a metrology-grade 3D scanner?
The Artec Metrology Kit provides very accurate measurements over distance. However, it does not produce dense point clouds like 3D scanners do. Depending on your use case, you may want to use one or the other, or in a combined workflow.
Your best 3D scanning solution
Find the device that suits your needs best, whether you're inspecting tiny parts or large machines.
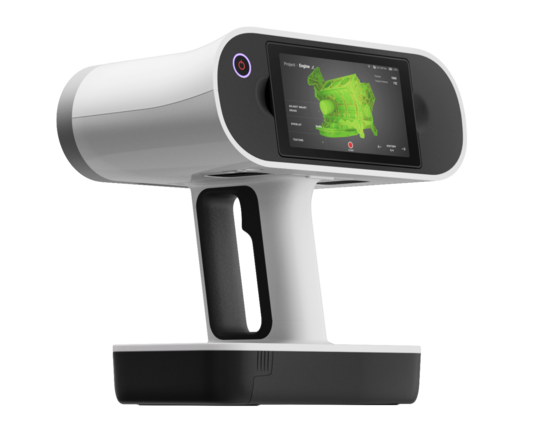
User-friendly portable laser 3D scanner with an inbuilt touchscreen and intuitive UI for easy 3D scanning.
| Scanner type | Handheld |
|
Object size
Typical object sizes:
XS: <5 cm S: 5–20 cm M: 20–50 cm L: 50–200 cm XL: >200 cm |
M, L |
| Accuracy | up to 0.1 mm |
| Resolution | up to 0.2 mm |

Built for scanning in advanced resolution and perfect color, this target-free 3D industrial scanner captures complex geometry and sharp edges.
| Scanner type | Handheld |
|
Object size
Typical object sizes:
XS: <5 cm S: 5–20 cm M: 20–50 cm L: 50–200 cm XL: >200 cm |
S, M |
| 3D point accuracy, up to | 0.05 mm |
| 3D resolution, up to | 0.05 mm |

Built for industrial metrology, this lightweight, robust laser handheld scanner captures tricky surfaces with metrological accuracy and repeatability.
| Scanner type | Handheld |
|
Object size
Typical object sizes:
XS: <5 cm S: 5–20 cm M: 20–50 cm L: 50–200 cm XL: >200 cm |
S, M, L |
| 3D point accuracy, up to | 0.02 mm |
| 3D resolution, up to | 0.02 mm |
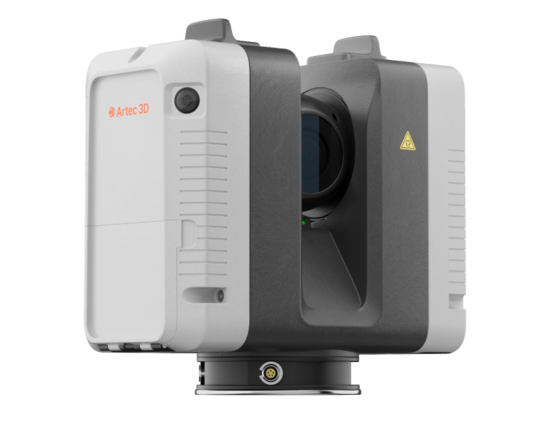
Powerful long-range laser 3D scanner for precise capture of massive objects and scenes with remarkable speed and high accuracy.
| Scanner type | Long-range |
|
Object size
Typical object sizes:
XS: <5 cm S: 5–20 cm M: 20–50 cm L: 50–200 cm XL: >200 cm |
L, XL |
| 3D point accuracy, up to | 1.9 mm @ 10 m |
| Resolution | 3 / 6 / 12 mm @ 10 m |
New
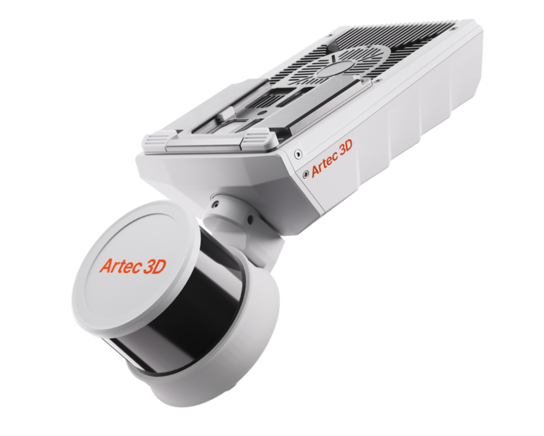
Ultra-versatile SLAM-based LiDAR scanner for capturing large areas, including construction sites, road networks, and hazardous, difficult-to-access environments.
| Scanner type | Multi-modal |
|
Object size
Typical object sizes:
XS: <5 cm S: 5–20 cm M: 20–50 cm L: 50–200 cm XL: >200 cm |
XL, XXL |
| Accuracy, up to | ±10 mm |
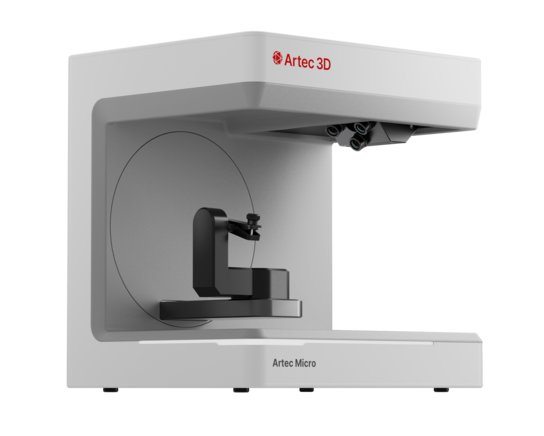
A metrology-grade 5-micron accuracy desktop 3D scanner and automated, one-click solution.
| Scanner type | Desktop |
|
Object size
Typical object sizes:
XS: <5 cm S: 5–20 cm M: 20–50 cm L: 50–200 cm XL: >200 cm |
S, XS |
| Accuracy | 0.005 mm |
| Resolution | 40 microns |
Combine photogrammetry’s optical measurement with 3D scanning
Fine detail at scale
The high resolutions of smaller-frame 3D scanners and photogrammetry’s accuracy over distance combine to produce fine detail and metrology-grade accuracy even with large-scale projects.
All-in-one workflow
Import images, run registration, generate and work with multiple OBC point clouds, and combine data from different scanners to produce a final 3D model in one fully integrated workflow.
Up to 14x higher volumetric accuracy
The Metrology Kit's 15 µm + 15 µm/m volumetric accuracy improves accuracy compared to using just a 3D scanner by up to 3x across a one-meter scan, 14x across 15 m, and even more for larger objects.
Using the Artec Metrology Kit with a 3D scanner

Choose the option that suits your needs
The Artec Metrology Kit comes in two versions. The Entry version is designed for less demanding engineering use cases, while the Professional version provides higher accuracy and is designed to make photogrammetry in more challenging environments easier.
Tech specs
| Artec Metrology Kit | Professional | Entry |
|---|
| Accuracy | ||
|---|---|---|
| Length measurement accuracy | MPE* | 0.015 mm + 0.015 mm × Length diagonal [m] | 0.025 mm + 0.025 mm × Length diagonal [m] |
| Point-based measurement accuracy | 0.002 mm + 0.005 mm/m (RMS) 0.003 mm + 0.007 mm/m (3 sigma) |
0.004 mm + 0.006 mm/m (RMS) 0.005 mm + 0.009 mm/m (3 sigma) |
*MPE (Maximum Permissible Error) of length measurement error, based on VDI/VDE 2634 part 1: defined as the maximum permissible deviation of a measured length, which is located between two measuring points, signalized with photogrammetric targets, in the entire measuring volume of the measuring object, regardless of the position and orientation.
| Volumetric accuracy combined with 3D scanners | ||
|---|---|---|
| Artec Leo/Artec Eva | 0.115 mm + 0.015 mm/m | 0.125 mm + 0.025 mm/m |
| Artec Space Spider | 0.065 mm + 0.015 mm/m | 0.075 mm + 0.025 mm/m |
| Camera | ||
|---|---|---|
| Sensor unit | Canon EOS R | Canon EOS 6D |
| Lens | 28 mm AICON metric wide-angle lens | 28 mm AICON metric wide-angle lens |
| Camera resolution | 30.3 megapixels (6720 × 4480) | 20.2 megapixels (5472 × 3648) |
| Field of view (FoV) | 65 × 46° | 65 × 46° |
| Illumination | White-light flash | White-light flash |
| Speed | Up to 8 images per second | Up to 4 images per second |
| Viewfinder | Diopter | Diopter |
| Wireless data transfer | Optional | Not supported |
| Power supply | Li-ion battery | Li-ion battery |
| Packaging | ||
|---|---|---|
| Dimensions | 215 × 120 × 140 mm | 245 × 110 × 150 mm |
| External dimensions of transportation box | 520 × 430 × 250 mm | 870 × 230 × 170 mm |
| Sensor weight | 1.7 kg / 3.7 lb | 1.4 kg / 3 lb |
| Weight of transportation box including system | Approx. 12 kg / 26.5 lb | Approx. 7.7 kg / 17 lb |
| Storage | Robust case with trolley | Robust case |
| Other specs | ||
|---|---|---|
| Recommended operating temperature | +5 to +45°C | +5 to +45°C |
| Conformity | CE, RoHS | CE, RoHS |
| Calibration and certification | DAkkS certificate for the complete measuring system including scale bars and sensor DAkkS-calibrated scale bars: 1 × 1430 mm, 1 × 830 mm VDI 2634 page 1 certified system |
DAkkS certificate for the complete measuring system including scale bars and sensor Factory-calibrated scale cross 800 Opt. VDI 2634 page 1 certified system |


